

Hey guys,
I hope that you're all well. My life has been crazy busy but I've been working hard to get things organised and on track. So far it's working. But no matter how busy I am, there's always time for makeup ;)
The look that I have prepared for you today includes the favourites from the last month, the blog post where I talked about them can be found here. I also featured two lip options, one that's really wearable and one that's mega bold. So you can interpret this as a day to night look. Enjoy.
Step 1 - Base

First I applied a Prime and Fine base from Catrice. Then I applied my Rimmel Match Perfection Foundation in Light Porcelain in order to even out my skin tone. I used a flat top brush to blend the product in. I opted for one layer as I wanted my face to look quite natural as the eye and lip look that I was planning on creating was going to be quite bold.

Then I applied The Eraser Eye concealer from Maybelline to cover my dark circles. Next I covered any remaining imperfections with the Catrice Camouflage Cream in Ivory. To finish off the sticky products I applied an eyeshadow base from Inglot to my eyelids to make the eyeshadows stick better and ensure that they last all day.


To set everything in place and make my base last all day, I used the Rimmer Stay Matte Powder in Transparent with the Real Techniques Powder Brush.


Step 2 - Contouring

To contour my face I used the Makeup Revolution Untra Bronze Bronzer in the hollows of my cheeks, on my jaw line and on my forehead.

I then applied the top right blush (it's a dark dusty pink) from the Makeup Revolution Ultra Blush & Contour Palette to the apples of my cheeks for a delicate wash of colour.

I then applied the white highlighter from the same palette onto the tops of my cheeks for a delicate bit of glow.

Finihsed based, And yes, I am tilting my head in an odd manner in the second picture but it's to show off the highlighter so have a laugh and enjoy the glowy goodness.


Step 3 - Brows
I filled in my brows using the Brow Shaping Kit from Makeup Revolution in Dark. And yes my eyebrows look RIDICULOUS if my eye makeup isn't done.


Step 4 - Eyes


I used the Makeup Revolution Salvation Palette in Run Boy Run for my whole eyeshadow look.
To kick things off I applied the colour Follow Me which is a pale matte shade all over my lid and up to my crease.

I then defined my crease with the pale (slightly purple-) brown colour that is You Are Finally Mine.


I then blended a dark brown colour that is Sun Will Be Guiding You over the previous shadow to create a strong cat-eye(y) shape.


I then applied World Is Not Meant For you which is a silver metallic shade with a wet brush to get the best opacity all over my eyelid. I also applied this colour in my lower lashline to balance the top and the bottom and to make the look very smokey and bold.


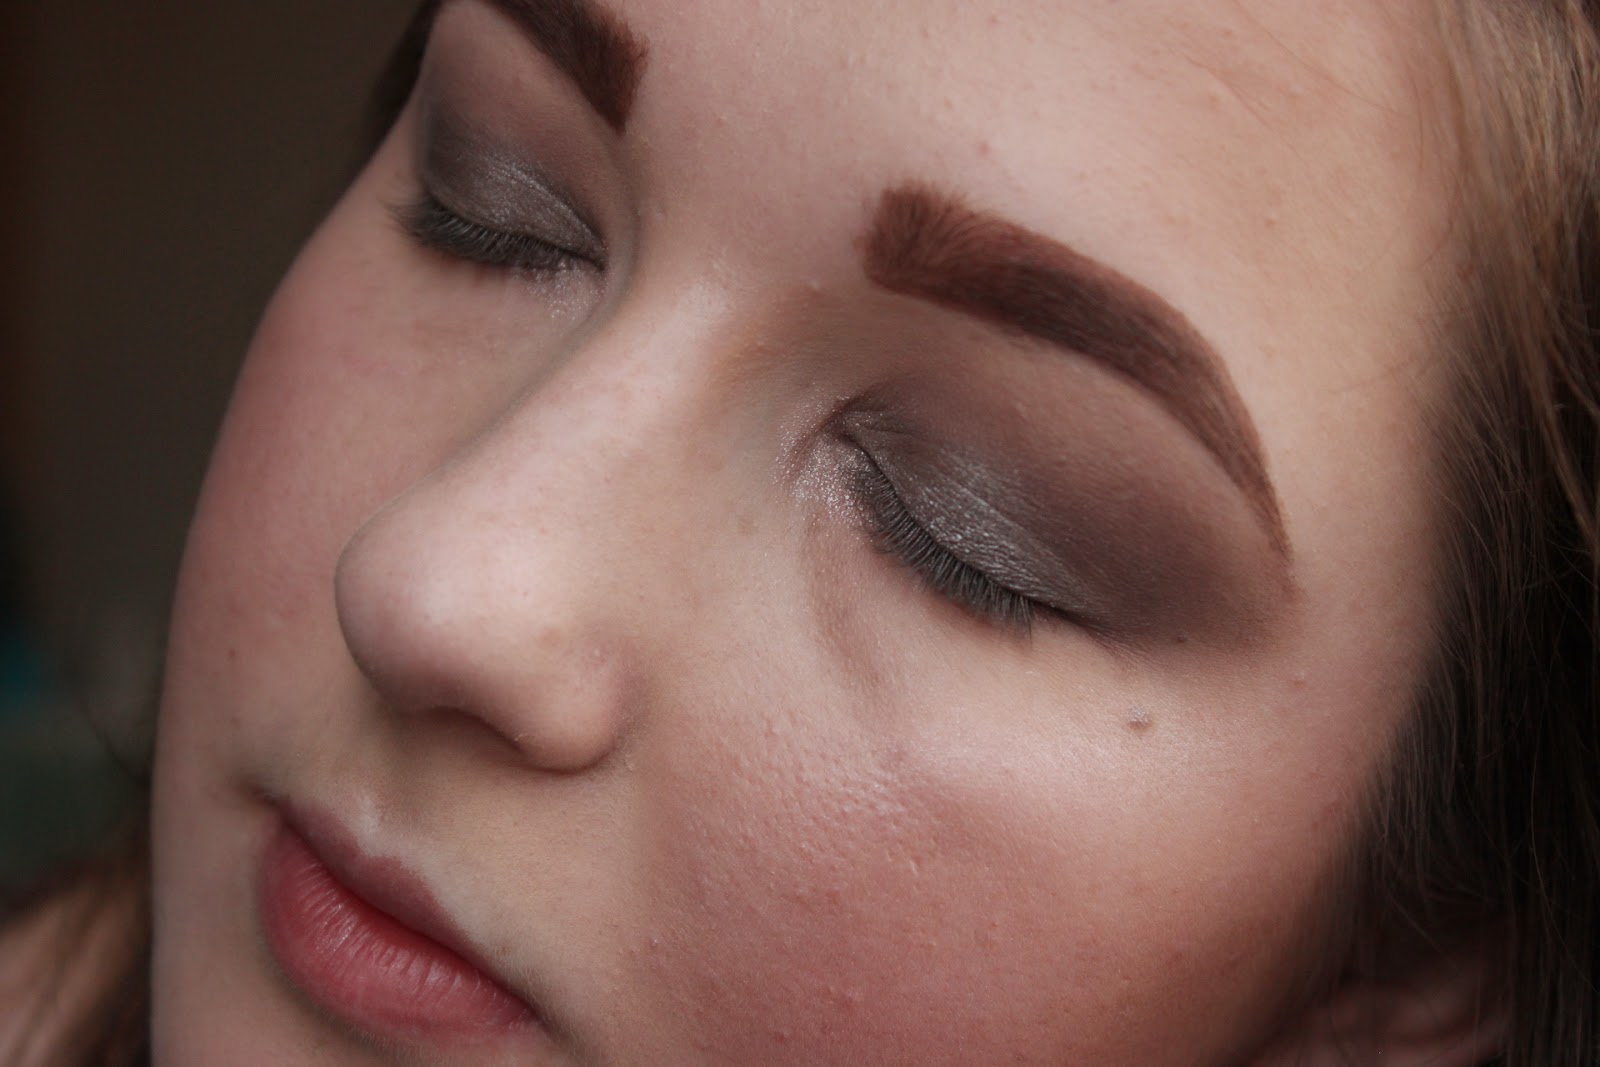

To finish off the eyes I applied winged liner using the Collection Felt tip liner in Black and two coats of the NYC Big Bold Mascara on top and bottom lashes in Extra Black.
Here's the result.


Step 5 - Lips
The first lip option is the Makeup Revolution in Treat. It's a browny nude that's perfect if you prefer must subtle lips.
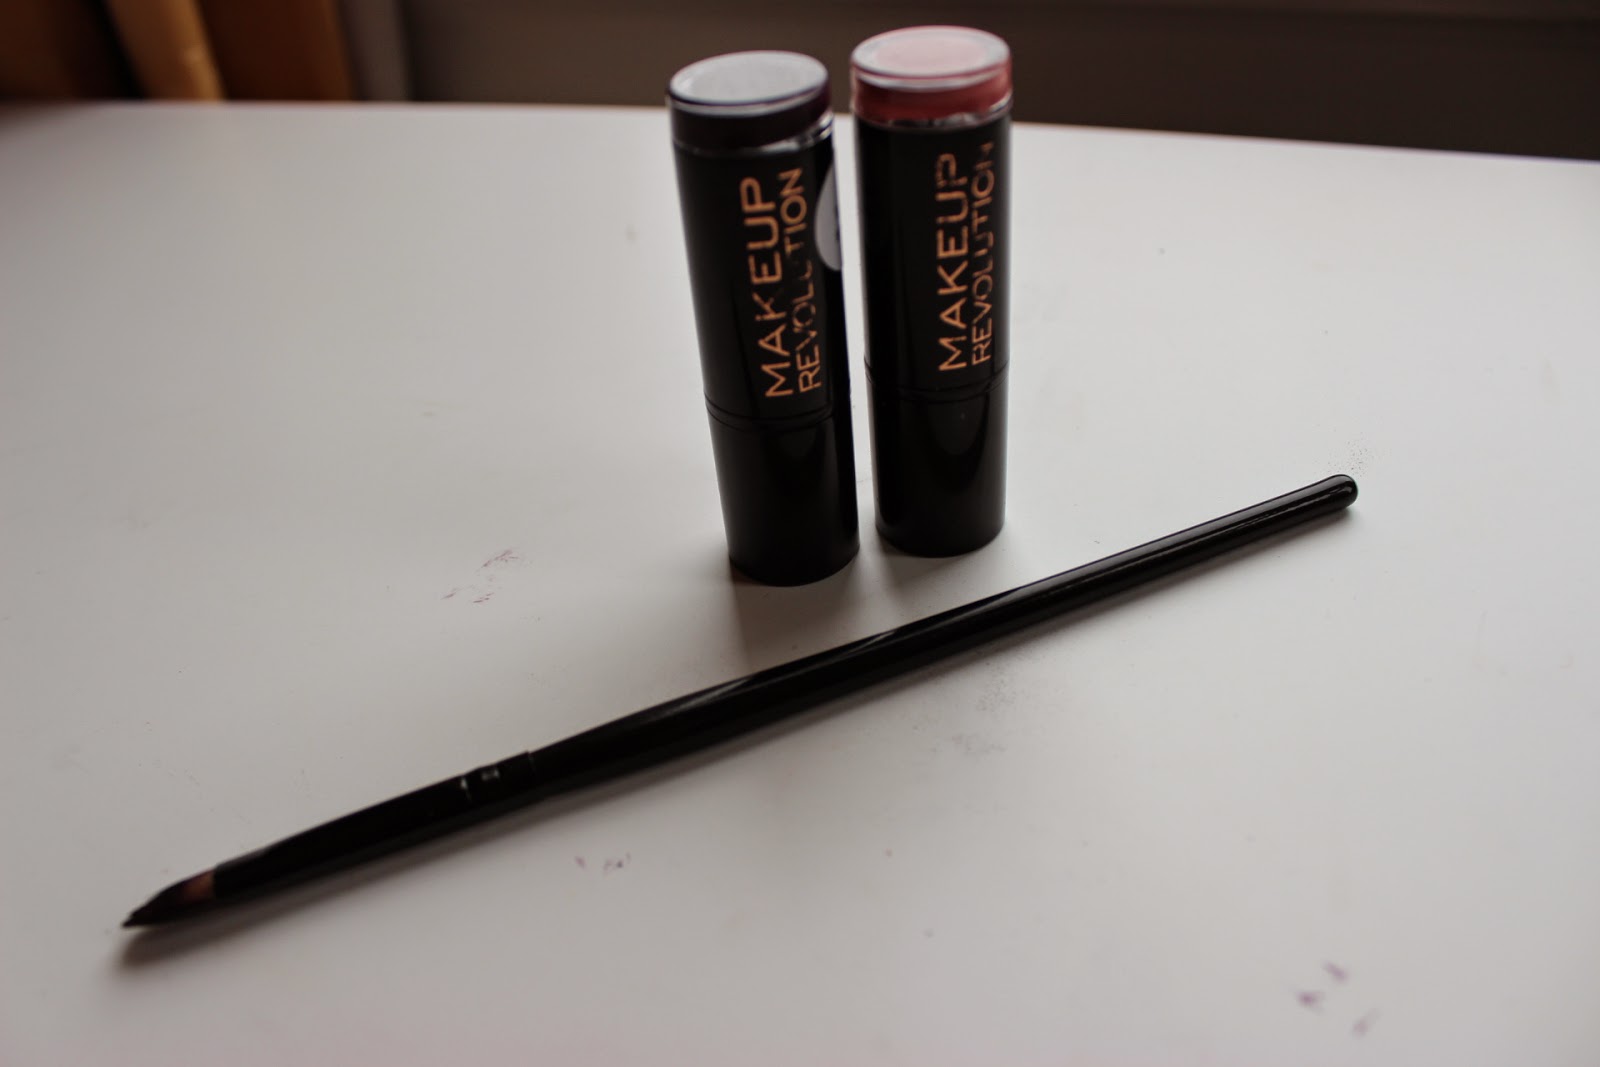

The second lip option is the lipstick from the same brand in the colour 100%vamp. It's a very, very deep purple colour and I freaking love it. I much prefer this option and I do recommend you try this out even if it is within the walls of your room.


I hope that you like this look and that you've enjoyed this post. See you in my next one.
Mollie
xx


0 Comments